Showing posts with label Seeds. Show all posts

Sunday, October 16, 2011

Italy Part 27

During my visit to Minnesota, my parents were willing to let me take over the kitchen and prepare two Italian meals in order to keep my Italy challenge alive. I actually got to reference their copy of the cookbook, since I had gifted them with the same book that they had gifted me all those years ago, hoping to share the inspiration that it brings me! But really, I could have used any excuse to cook something in that kitchen. I imagine myself as a celebrity chef as I strap on my mom's french apron and dance around the open space, preparing ingredients on the miles of counter surfaces, searching through the fridge and pantry holding a deep catalogue of food items, and banging around state-of-the-art cookware that I dream of having in my own kitchen someday... glee! Anyways, it is always fun to pretend, especially since my two cats are really good at listening to my "cooking demos."

Soaking up a slice of homemade limelight.
Truth be told, I'm actually terribly camera shy.

Let's start with the meal that includes "furry critters" as the main course. I can't say that I am particularly fond of rabbit, and thank goodness because its price-per-pound worth is over $18!  I purchased a frozen, pre-quartered and humanly caught rabbit from a specialty store in Chanhassen, MN (for occasions like this I place all of my trust into knowledgeable butchers).  After thawing the meat and unwrapping the packaged contents, I was quite impressed with how beautiful this tiny animal's meat was. The meat had a nice pink color with a clean, translucent skin layer over the top. Much more visually appealing than even poultry!  I said a little blessing and got busy. 


Meal #1:
Rabbit with rosemary and white wine (p. 135)
Olive bread (p. 138)
Mixed greens salad

Dinner preparation started with "proofing" the baking yeast
for the Olive bread. Yep, looks alive and ready to go!
While I prepared the dough ingredients, the rabbit was slowly
thawed in a cold water bath in the sink.
What I consider fanciful meat.
Step 1 of cooking rabbit:
Coat with bread crumbs and seasonings, then give
the pieces a good fry in some oil before setting aside.
Step 2 of cooking rabbit:
Once the sauce has been prepared separately, add back the
crispy rabbit pieces and let simmer on low heat for about 2 hrs.
The white wine, sage, rosemary, garlic, tomatoes, stock, and a
pinch of cayenne (to name a few) made for such a nice base.
The bread dough continued to rise for a second time in the
warmth of the setting sun on the front porch.  The recipe called
for white flour only, however, we ran out mid-recipe, so whole
wheat was substituted. It added a nice, rustic brown color.
The dough was rolled out, decorated with Kalamatas (yum!),
then delicately folded over to make a "loaf" before baking.
I plated the rabbit with only a few more minutes left for the bread.
Next time, I won't be so shy adding olives. Even so, this bread
turned out better than expected (my bread never turns out right
so I feel like I far exceeded failure this night)!
We ate family-style for this meal in compliance with the Italian theme.
After a few hesitant bites from my Dad, Mom, and myself, we happily
cleaned our plates.  Plus, we had Adele's custard to look forward to...

My first time trying rabbit was in Mexico last October (2010). It was cooked in cactus skin and it had a particularly gamey taste to it. I braced myself for the same underlying flavors, however, this Rabbit with rosemary and white wine dish was nothing but tender and savory. Truly, "It tasted like chicken!"  And the tomato-wine sauce was divine. My mom mentioned making the sauce again to top other meats or pastas in the future. Preparing this dinner took a lot longer than expected since I missed the step about letting the Olive bread rise twice (oops). We filled the extra hour with additional porch time with a cold beer, snacking on extra Kalamatas. Perhaps the secret to how well the rabbit turned out was in letting the sauce simmer over low heat for nearly an extra hour. 

The second meal required a bit of help from my Dad, the "grill master" of the family. We were having grilled swordfish skewers, a recipe that I would have prepared on my cast iron panini press if I had been making this in Denver.  As it turns out, cooking swordfish was not an option. The same specialty butcher that I sourced the rabbit from had informed me that they were totally out of swordfish and would continue to be for quite some time. Why? The mercury concentration in the meat was sky high! The butcher explained that they test all of their seafood for mercury before accepting deliveries, and recent deliveries did not meet their safety standards... not by a long shot. I also checked my local "budget" grocery store just to see if they would have any (albeit loaded with mercury levels gone unchecked). To my surprise, they didn't carry swordfish either, but not because of mercury levels. This butcher explained that they don't carry it since the meat is so expensive and no one would buy it. What's the next best option as a swordfish substitute? Tuna steaks! 

Meal #2:
Involtini of swordfish tuna (p. 134)
Herb baked ricotta (p. 102)
Leftover olive bread

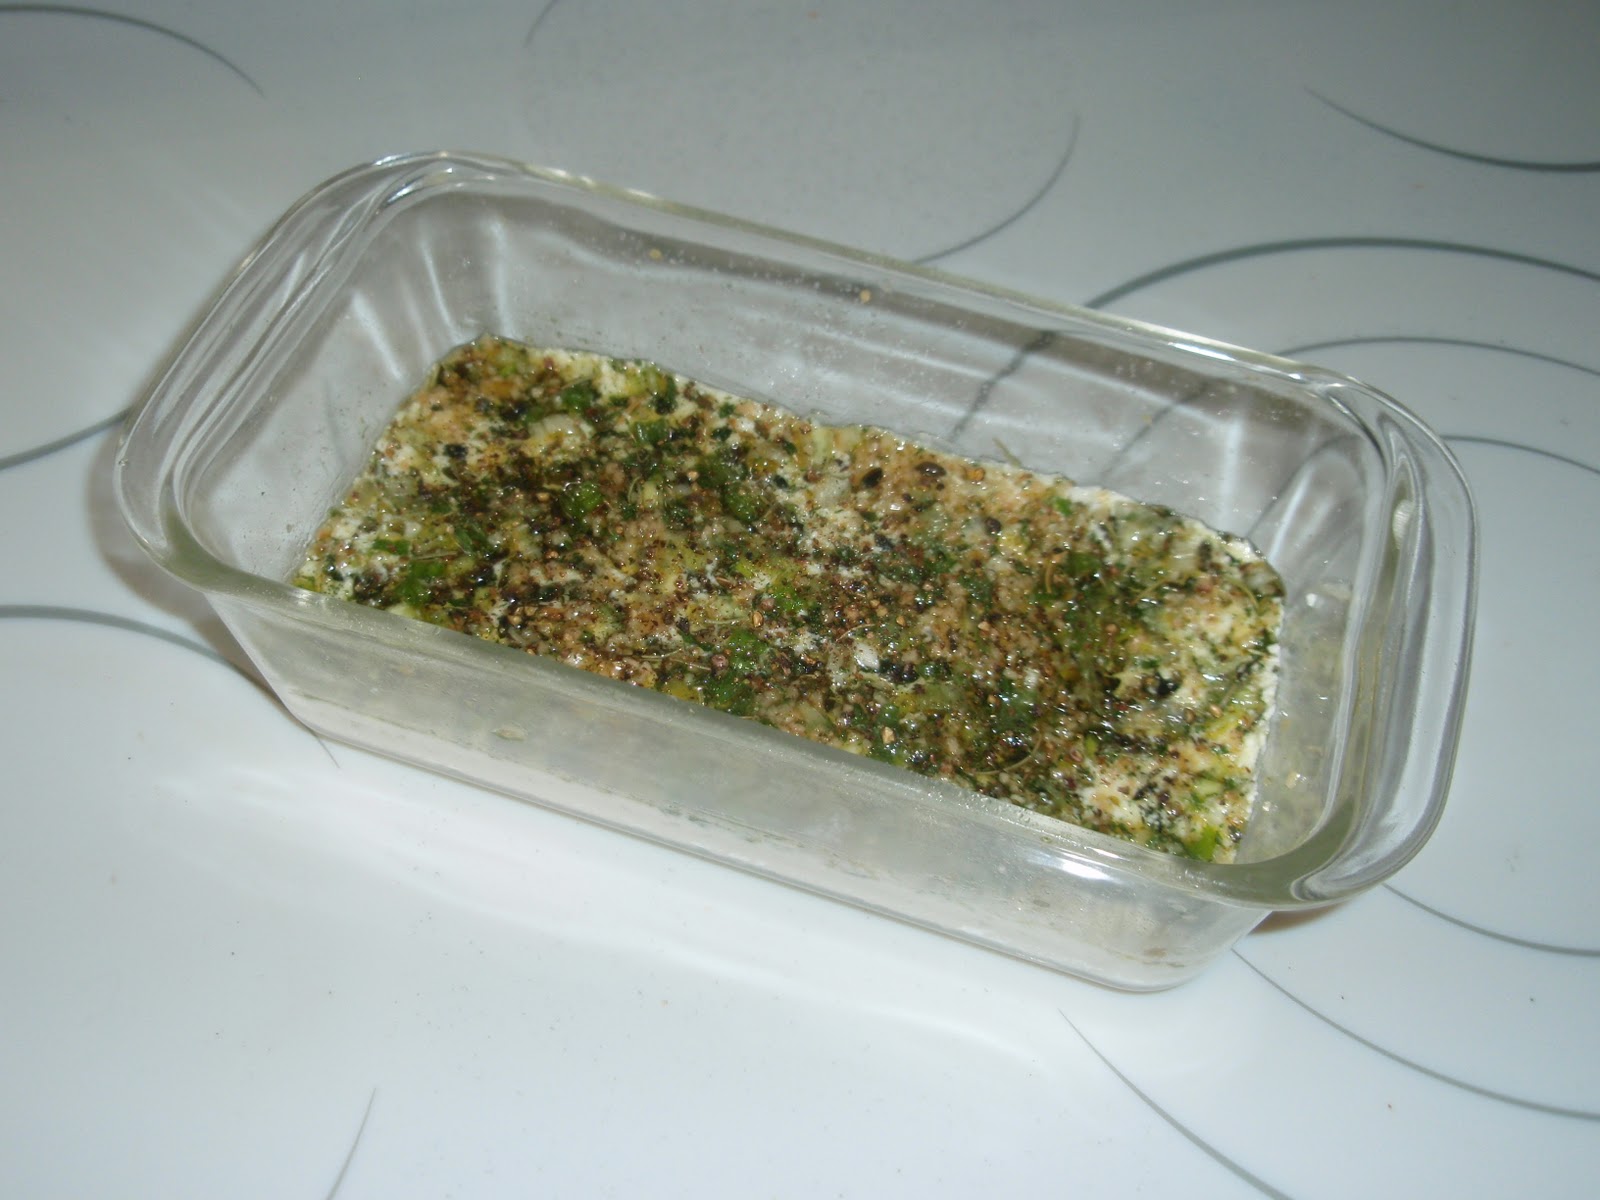
The ricotta recipe was started 2 days in advance.
Day 1: Drain off remove excess moisture.
Day 2: Marinade with a cocktail of fresh herbs and oil.
Day 3: Bake in the oven until golden, about 30 min at 350 F.
Since the ricotta was prepared ahead of time, it was
ready as an appetizer in the amount of time it
took the tuna skewers to be assembled.
To assemble the stuffed tuna skewers, the steaks were rolled
out flat between two sheets of plastic wrap and then divided.
I pre-made the stuffing the night before (breadcrumbs, egg, seasonings),
which accelerated prep time. All that was needed was wrapping each
thin steak piece with stuffing, counting out fresh bay leaves,
peeling lemons to reserve their rinds, and slicing pearl onions.
Food beading.
Alternately, I threaded a lemon ride, bay leaf,
and stuffed tuna steak. After all of the pieces were assembled,
they were brushed with a lemon juice and olive oil mixture
and handed over the grilling expert.  
About 5 short minutes later... dinner was ready!
The cooking time was so fast, I hadn't even gotten
the chance to look over his shoulder!

I also lost track of my photo-documenting responsibilities and failed to snap a shot of what our dinner plates looked like. My brother Mike made it home to join us at the dinner table. Once our bellies were full of flakey, charcoal-kissed tuna steaks, we all got busy making cookies and prepping other recipes to be enjoyed with our much anticipated visitors from Chicago, Baltimore, and Milwaukee!  

Food never fails to bring people together.

Thursday, September 29, 2011

Kickin' Autumn Salad

Last Sunday marked the last day for Denver's adult kickball league.  It is frustrating to think that future Sunday afternoons will no longer involve running around bases, getting doused with warm beer, and dodging flying kickballs. The majority of our team's roaster consisted of Joe's fellow medical trainees, as well as any friends and spouses who wanted to play too. Costumes, a healthy dose of competition, and drinking beer at all times made this game even better than I ever remember it being as a kid!

The "Do Overs" fall kickball team.
Can you spot the photo bomber?

This classy group of kickballers can also organize some pretty "kickin" dinner parties. Here is a great fall salad that I made for a recent potluck that was a major home run!  The only cooking required is if you decide to make your own candied almonds (so worth it).  Otherwise, just buy ingredients and toss together for a wonderful, savory-sweet autumn dish. See recipe below.

Fall colors and flavors. 
My favorite silly salad spoons!
They love to help fetch all of the goodies that migrate
to the bottom of the bowl after mixing.


Kickin' Autumn Salad
Serves 8

2 Granny Smith apples, thinly sliced
2 tbsp. lemon juice
8 cups lettuce/mixed greens, washed and torn
1/2 cup Gorgonzola cheese, crumbled
1/2 cup dried cranberries
1/2 cup candied almonds (see recipe below)

Dressing:
1/3 cup pure olive oil
1 tbsp. Dijon mustard
1 tbsp. sugar
1 tbsp. lemon juice
1/2 teaspoon salt
1/4 teaspoon pepper

Put torn greens into a large bowl. Toss together apples and lemon juice in separate bowl. Then add the apples to the top of the lettuce, followed by cranberries, cheese, and almonds! To make the dressing, add all of the ingredients to a jar with a secure lid and shake vigorously until blended. Drizzle and toss the salad with dressing right before serving. 


Candied Almonds
Makes 1 cup

1/4 cup water
3/4 cup sugar
1/2 teaspoon cinnamon 
1/2 lb. almonds, with skins

Preheat oven to 350 degrees. Bring water, sugar, and cinnamon to a boil in a small sauce pan, stirring constantly to prevent sugar from burning. Turn off the heat and add almonds. Toss to coat. Remove almonds with a slotted spoon and spread onto a greased baking sheet. Bake for 20 minutes, basting almonds with reserved syrup every 5-8 minutes (or at least twice total). Remove from oven and allow to cool before eating.  Add to salad recipe (above) or simply place into a bowl for snacking! Note: These would make great holiday gifts if packaged in small mason jars and tied with a ribbon.

Saturday, September 17, 2011

Italy Part 23


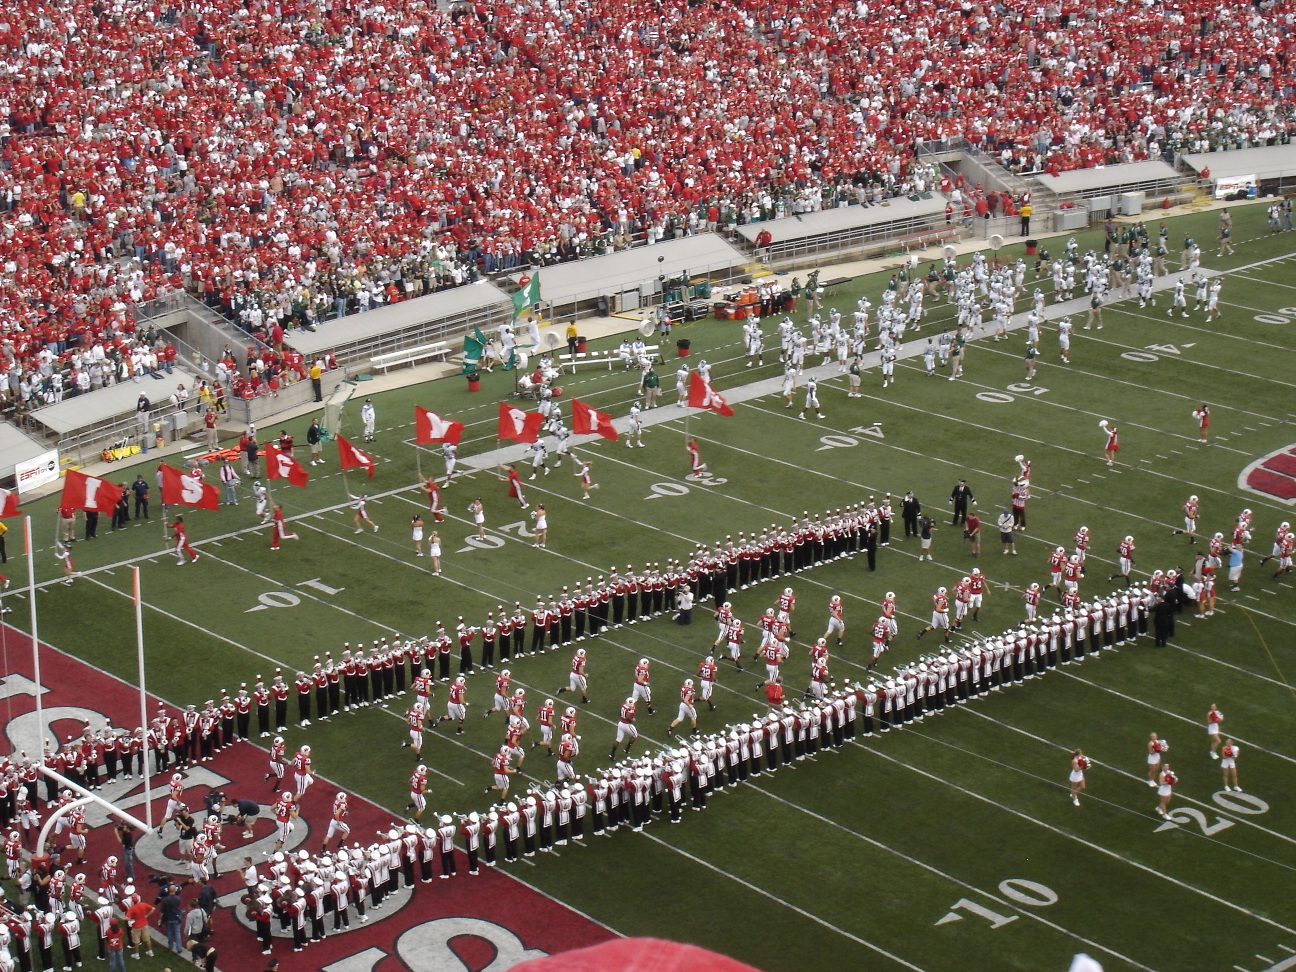
It's a beautiful Saturday morning here in Denver, but my thoughts keep circling back to my old home in Madison, Wisconsin.  After all, it is the season when Saturday mornings are served up with a hearty side of Badger football!  Speaking of traditions, I could really go for a beer and brat breakfast, sunburn, and 5th quarter dancing with Leckrone and the marching band. Did you know that they are celebrating their 125th birthday this year?  Neat-o! 

If you want to be a Badger just come along with me,
by the bright shining light,
by the light of the moon! 
Camp Randall at kickoff.

This afternoon the Badgers are taking on Northern Illinois Huskies at Solider Field. What is this Badger having for breakfast this game day?  Biscotti. Sconnie biscotti, perhaps!


Biscotti (p. 148)

Biscotti is simply a hard sweet bread. It requires making a sugared dough, kneading, and baking. However, there is an additional baking step to give it a nice cracker crunch! 

My biscotti loaf has completed round one of baking.
The glossy sheen comes from brushing the dough with egg.
As you can see, it was a bit over zealous to rise and it split
its side from head to toe!  
Slicing the once-baked biscotti loaf.
The green bits you see are pistachio nuts.
After a second round of baking, this sweet bread is now
crispy, crunchy, slightly sweet and oh-so-neat biscotti! 

I always thought biscotti would be difficult to make, but its really not! If you can bake a loaf of quick bread, you can make biscotti. I prefer mine dipped in creamed coffee or sweet tea. It softens it up a bit. Add some fresh fruit and you got yourself a fancy breakfast.  Perhaps not very Wisconsin, but I am wearing my red "sconnie" t-shirt, ha! 

Thursday, September 15, 2011

Italy Part 21

Sicilians certainly do not cut corners when making cake! This was my conclusion after enduring a baking venture that took me three days to complete. This recipe would have normally taken two, however, I had to make my own sponge cake since my local grocery stores failed to supply any in the shape and size required. Other ingredients that I could not purchase included, cedro (a lemon-like citrus fruit), fruit glace (candied fruits in a glossy corn syrup coating), and blanched almonds (really)!  I did my best with substitutions. The following is my Cassata all Siciliana (p. 141) cake story...

Day 1: A cake for a cake
Preparing sponge cake is like cooking solid egg foam. It required making a sweet, citrus flour and egg yolk batter, followed by gentle folding into a giant bowl of whipped egg whites and sugar until the consistency resembled a frothy latte! Angel food cake has always been a favorite of mine, but now I think I found a competitor. 

Colonial Sponge Cake
From: "Better Homes and Gardens Heritage Cookbook"
Copyright 1975 
Inverting the pan for cooling.
Why am I always terrified the cake will plop right out?
This is what happens when you leave spongy, unguarded cake with me
(just ask my mother)!  Crispy undersides are just so irresistible, and
besides, who is going to notice the bottom of a cake after a good icing?

Day 2: Assembling the dessert puzzle 
Now that I had a sponge cake ready-homemade, it was time to prepare the filling and then assemble the whole cake together. Many steps were involved.  Ricotta cheese was the main ingredient and to add even more Italian flare, the sponge cake was sprinkled generously with dessert wine. 

I substituted whole, raw almonds for "blanched" since
I could not find them at the store and realized only
later that I could have probably taken off the almonds' brown
coats with a little extra elbow grease. Lessons for the future!
They required cutting into halves and dry-frying. 
My substitution for the real candied fruits (or glace) was to
purchase purely artificial ones. I used the yellow, orange, and red
pieces to substitute for cedro, orange glace, and cherry glace. 
This recipe takes "cheesecake" to a new level,
requiring nearly two pounds of fresh ricotta. Yum!
The filling ingredients are ready to mingle.
Ingredients: ricotta, candied fruits, almonds, pistachios,
icing sugar, vanilla, and grated lemon rind. 
The sponge cake required modifications via slicing,
reserving one complete, round piece for the filling "lid."
The rest of the cake was cut into various angled pieces
and assembled into a greased bowl as the cake's exterior. 
The cake mosaic after a shower of wine.
When I do this again, I would find a smaller, steeper bowl.
The recipe calls for a "pudding basin" but I used a mixing bowl.
Madeira, the dessert wine that was needed for the infusion.
Much like Port or Marsala, this sweet wine is fortified.
It gets its name from the origin of the grapes:
the Portuguese islands of Madeira.  
Stuffed. 
After the final placement of the reserved slab of sponge cake,
this assembled jigsaw must set in the fridge overnight.  

Day 3: Beautification and appreciation
After a night of beauty rest I was overly curious to take a peak. Much hesitation came when I realized that two days of hard work could be easily ruined with just one failed attempt to flip the heavy contents of the bowl onto a plate!  With a bit of pep talk and deep breathing, I flipped the bowl while struggling to hold the plate steady until I finally felt the anticipated PLOP! of the cake releasing from the sides of the bowl.  I was thrilled (thrilled!!) that it all came out in one piece. The final steps required covering up some blemished surfaces with whipped cream and a splash of color. What a beauty! Let's eat! 

Getting ready for the flip.
It survived with all of its pieces intact!
Ready for the cakewalk (... around my kitchen). 

This cake is truly divine! It may have taken three days to prepare from scratch, however, beauty transpires from the inside out. A feast for the eyes and taste buds! My favorite part has to be its colorful confetti filling- the smooth, sweet ricotta complements the crunchy nuts and chewy fruit pieces. Please note that the sponge cake is named as such for a reason. Comparing the last two photos, you will recognize how the whipped cream was taken right up by the cake in only a few hours, so I would suggest garnishing immediately before serving.  A piece (or two) is extra tasty with some additional Madeira or a splash of blush wine.

Wednesday, September 7, 2011

Italy Part 17

I will never forget what I ate for breakfast the first time I visited Joe's family cabin: cherry pie.  Despite all of the mental stress associated with "meeting the family" for the first time, remembering names and table manners and so forth, I remember a piece of pie?  Little do they know but eating that piece of cherry pie for breakfast made me feel like a million bucks. Since that day, it has continued to be a tradition in our lives, too! 

Honey and pine nut tart (p. 149).
 I think of this tart (which turned into a pie for lack of a
tart pan) as an Italian version of pecan pie.
Try it topped with sliced, ripe peaches and creme fraiche

As lovely as this pie turned out, it made quite a mess in the oven and created quite a stir with my neighbors the next morning! I'll reveal details of that at the end...

This culinary adventure began in my local grocery stores, hunting for various seafoods. I had previously completed the messy undertaking of gutting and cleaning 3-lbs of fresh squids (Italy Part 11). Wanting to make that a one-time undertaking, I took a bit of extra time placing pre-weighed remains into my freezer for the other two squid-requiring recipes in this section, such as this Insalata di frutti di mare (seafood salad) (p. 99).  However, I still needed 0.5-lb raw shrimps, 1-lb of black mussels and 1-lb of fresh clams. Grocery store #1 had shrimp and some sorry looking clams for $0.99 each. The butcher convinced me to purchase a pound of pre-shelled clams in the freezer section. He said it would be easier and cheaper.  I caved and purchased the bag, not wanting to spend a fortune on this recipe.  So I traveled to grocery store #2, specializing in natural and fresh foods, and I stood admiring their large case of beautiful, fresh seafoods. I was tempted buy the deep purple tuna steaks on-sale, but I kept to my mission and purchased enough black mussels for this recipe and the Mussels in tomato herd sauce (p. 133), which I'll talk about next time. 

Pre-prepared squid parts :)
Thawing squid, shrimp, and clams.
Washing and weighing out fresh mussels.
As you can see by the clock, I started early.

Now that I had successfully acquired my ingredients, it was time to start cooking. Knowing that this recipe, and the tart, had long methods of ingredient preparation spread out by longer cooking periods, I decided to try to balance my time by beginning both.  Therefore, as the pine nuts were slowly toasting on the stove, and the butter softening for the tart, I began thawing the clams and washing the mussels. To wash mussels, I learned that you must first throw out any shells that have already opened. They must be shut prior to heating. Then, with a brush, I scrubbed the exterior of their shells. The recipe said to also remove their "beards," but apparently my handsome mussels had come well-groomed and ready for cooking!

After my mussels were cleaned and rinsed, I left them sitting in a colander while I prepared the dry ingredients for the tart crust. As I was mixing flour and sugar, I began to hear hissing noises from the sink with the mussels. What on earth? As I put my ear down to them to see if it was just my imagination, one of the mussels popped open! Oh my! They were detesting their time out of refrigeration! I needed to get them cooking quickly before they all open up and I would have to toss the whole lot of them out. As I waiting for pan of water and parsley stems to simmer, I placed them back into the fridge.  Thankfully, only that one mussel was sacrificed during this learning process.  

The first of three other seafoods to enter the pot.
Note: If you purchase fresh mussels or clams ahead of time,
place them on top of a bed of ice in an uncovered baking tin.
Doing so will keep them happy for up to about two days. 

Once all of the mussels where happily bathing in hot water, it became a gabfest. One by one they all started hissing and popped open! In just 3-5 minutes, it was time to take them out of the pan to allow them to cool before shelling. During this time, I decided to plop the thawed, shelled clams into the warm water to allow their flavors to steep as well.  It was also time to finish the tart crust.

Flour, sugar, soda, and 1 stick of chilled, chopped butter.
To mix the butter into the flour mixture, the recipe called for
careful pinching using fingertips. Fun!
Once a breadcrumb consistency was reached, it was time to dig a
well into the middle of the flour mixture to allow for a beaten egg
and some water to pool. Using a flat butter knife, I worked the wet
and dry ingredients together using a cutting motion.
This step took a pinch of patience.
Eventually, the dough was ready to be rolled out on my floured
counter top into a thin layer and placed gingerly into my pie pan.
The scraps of dough, taken from cutting off the overhangs,
were combined and once again rolled out. Using a knife, I cut
out three leaves.  Aren't they beautiful? I usually botch crust
so I was feeling very optimistic with the way this turned out. 

The assembled crust needed to be refrigerated so I finished cooking the clams, then the shrimps, and finally the squid parts. Cooking each sea creature took only a minutes each, and by the end, a fragrant broth remained. I poured the broth in a jar to freeze for future risotto or soup. I also decided to refreeze the squid tentacles (not the hoods) and use them another day, since the recipe didn't really specify that they were needed... but mostly because they give Joe the willies. As the newly cooked seafood was draining, the cooled mussels were shelled, and the marinade of olive oil, lemon juice, garlic, and salt was prepared. 

Shelling mussels.
I found it was easiest to use one of the shell
halves as a spoon to scrap out the meat.

Once all of the seafood was tossed with marinade, into the refrigerator it went until dinner time. With only the tart filling to prepare and cook, I decided it was a good time to break for dishes.  

This is probably why most people prefer to avoid cooking if possible.
It is messy!  For me, I don't mind doing dishes, but the space limitations
is the major obstacle. With so little counter space in my kitchen,
I'm forced to clean up messes as I make them.

Now for the tart once again. The crust was chilled and ready for pre-baking. This required parchment paper and baking weights. I didn't have baking weights, let alone ever heard of them, so I substituted using a can opener. As this was baking, I stirred up the tart filling. The filling consisted of mixing three eggs, pine nuts, honey, another stick of butter, sugar, vanilla, almond liqueur, lemon juice, and grated lemon rind. Whomever thought of this ingredient combo is someone I would like to be friends with.

This metal can opener was the only heat-proof kitchen accessory I could
find to hold the paper down, fit within the crust diameter, and also light
enough not to damage the soft crust below. It got the job done!  
The assembled tart ready for baking!

To bake the filling of the tart, the temperature in the oven needed to be reduced. By mistake, I reduce the oven temperature from 375 degrees F to 180 degrees F, when in actuality, the recipe called for 350 degrees F.  I mixed up degrees F for degrees C (this recipe is part of a European cookbook after all)!  Needless to say, when the timer for the tart sounded, it came out looking like this... 

An uncooked pool of butter and honey. Where are the leaves?
I was peeved because I was felt like if I could master the crust,
I might actually pull this tart off without messing it up (as I usually
do with baked items).  Without even realizing my temperature
mix-up yet, I turned the temperature up to 350 degrees F
(as it should have been) and cooked it for another 15 minutes.  
After some additional baking, it turned out like this!
If I had gotten the temperature right from the start, perhaps the
leaves could have remained a float since the egg would have
set sooner.  Still, this was not a bad recovery.  

When Joe and I sat down for this coastal Mediterranean-inspired dinner, the kitchen was perfuming with the smells of honey and butter. I felt accomplished sitting down to our exotic meal of Insalata di frutti di mare. The mussels, clams, shrimp, and squid tasted incredibly fresh and fancy, all dressed up in their lemon-garlic sauce. 

The fruit of the sea. 
Time for dessert/tomorrow's breakfast!
Instead of whipped cream, we tried creme fraiche.
But a light dusting of powdered sugar does wonders too. 

As for the story about making a scene with my neighbors the following morning....
Well, I had planned on baking another loaf of focaccia to go with this dinner. I had taken out my frozen loaf of dough early that morning and was waiting for it to rise in a baking dish. Come dinner time, the focaccia dough was thawed, but flat as a pancake. I went to bed with it on top of my warm refrigerator thinking that maybe the dormant yeast just needs a little extra TLC. Sure enough, when I woke up the following morning the focaccia was fluffy and bubbly! Knowing that it was going to go flat again if I didn't cook it soon, I started the oven up.  I was really enjoying the quiet morning with coffee and a book while I waited for my sleeping bear (Joe) to rise. Soon, the light on the oven blinked off, signaling that it was time to put the bread into its preheated interior. But when I opened the oven door, a giant plum of smoke came out! What is going on? Before I could think, the fire alarms in my apartment started screaming. I flipped on the oven hood fan to HIGH, and ran into the bedroom to grab a pillow to help wave the smoke away from the alarm. However, as flustered as I was, I left the oven on, so the smoke just kept pouring out! My sleeping bear is now stirring with irritation from the horrid noise, but then then I start handing him pillows and dragging him out to the kitchen to help me shake away the smoke from the alarm while I go running to turn off the oven, open the window and doors and turn on every fan we own. And since we had opened out apartment up to get fresh air in and smoke out, we were completely exposed as we ran around in our PJ's flapping pillows. In deed, some neighbors popped their heads out of their own apartments wondering who the heck is responsible for such nonsense so early on a weekend morning! It's O.K., I'm just trying to bake some focaccia at 8:00 in the morning! 


After the chaos settled, but still feeling like an idiot, I inspected the oven for what the cause of the smoke might be from. Turns out, when I went to put the half-baked Honey and pine nut tart into the oven for the second round of baking, I failed to return the baking sheet. If I would have placed the baking sheet into the oven underneath the pie dish (as the recipe directed), the escaping sugary filling juices would have fallen onto that baking sheet and would have avoided collecting as kinder on the oven floor. Another valuable lesson learned! Mussels need to be cooked immediately or they start talking, frozen focaccia requires a good night's rest before rising, and sometimes pie filling decides to express a bit of independence by jumping out of its crust... so use a baking sheet or oven liner.